Showing posts with label leaf. Show all posts

February 27, 2013

Autumn Leaf Quilt.

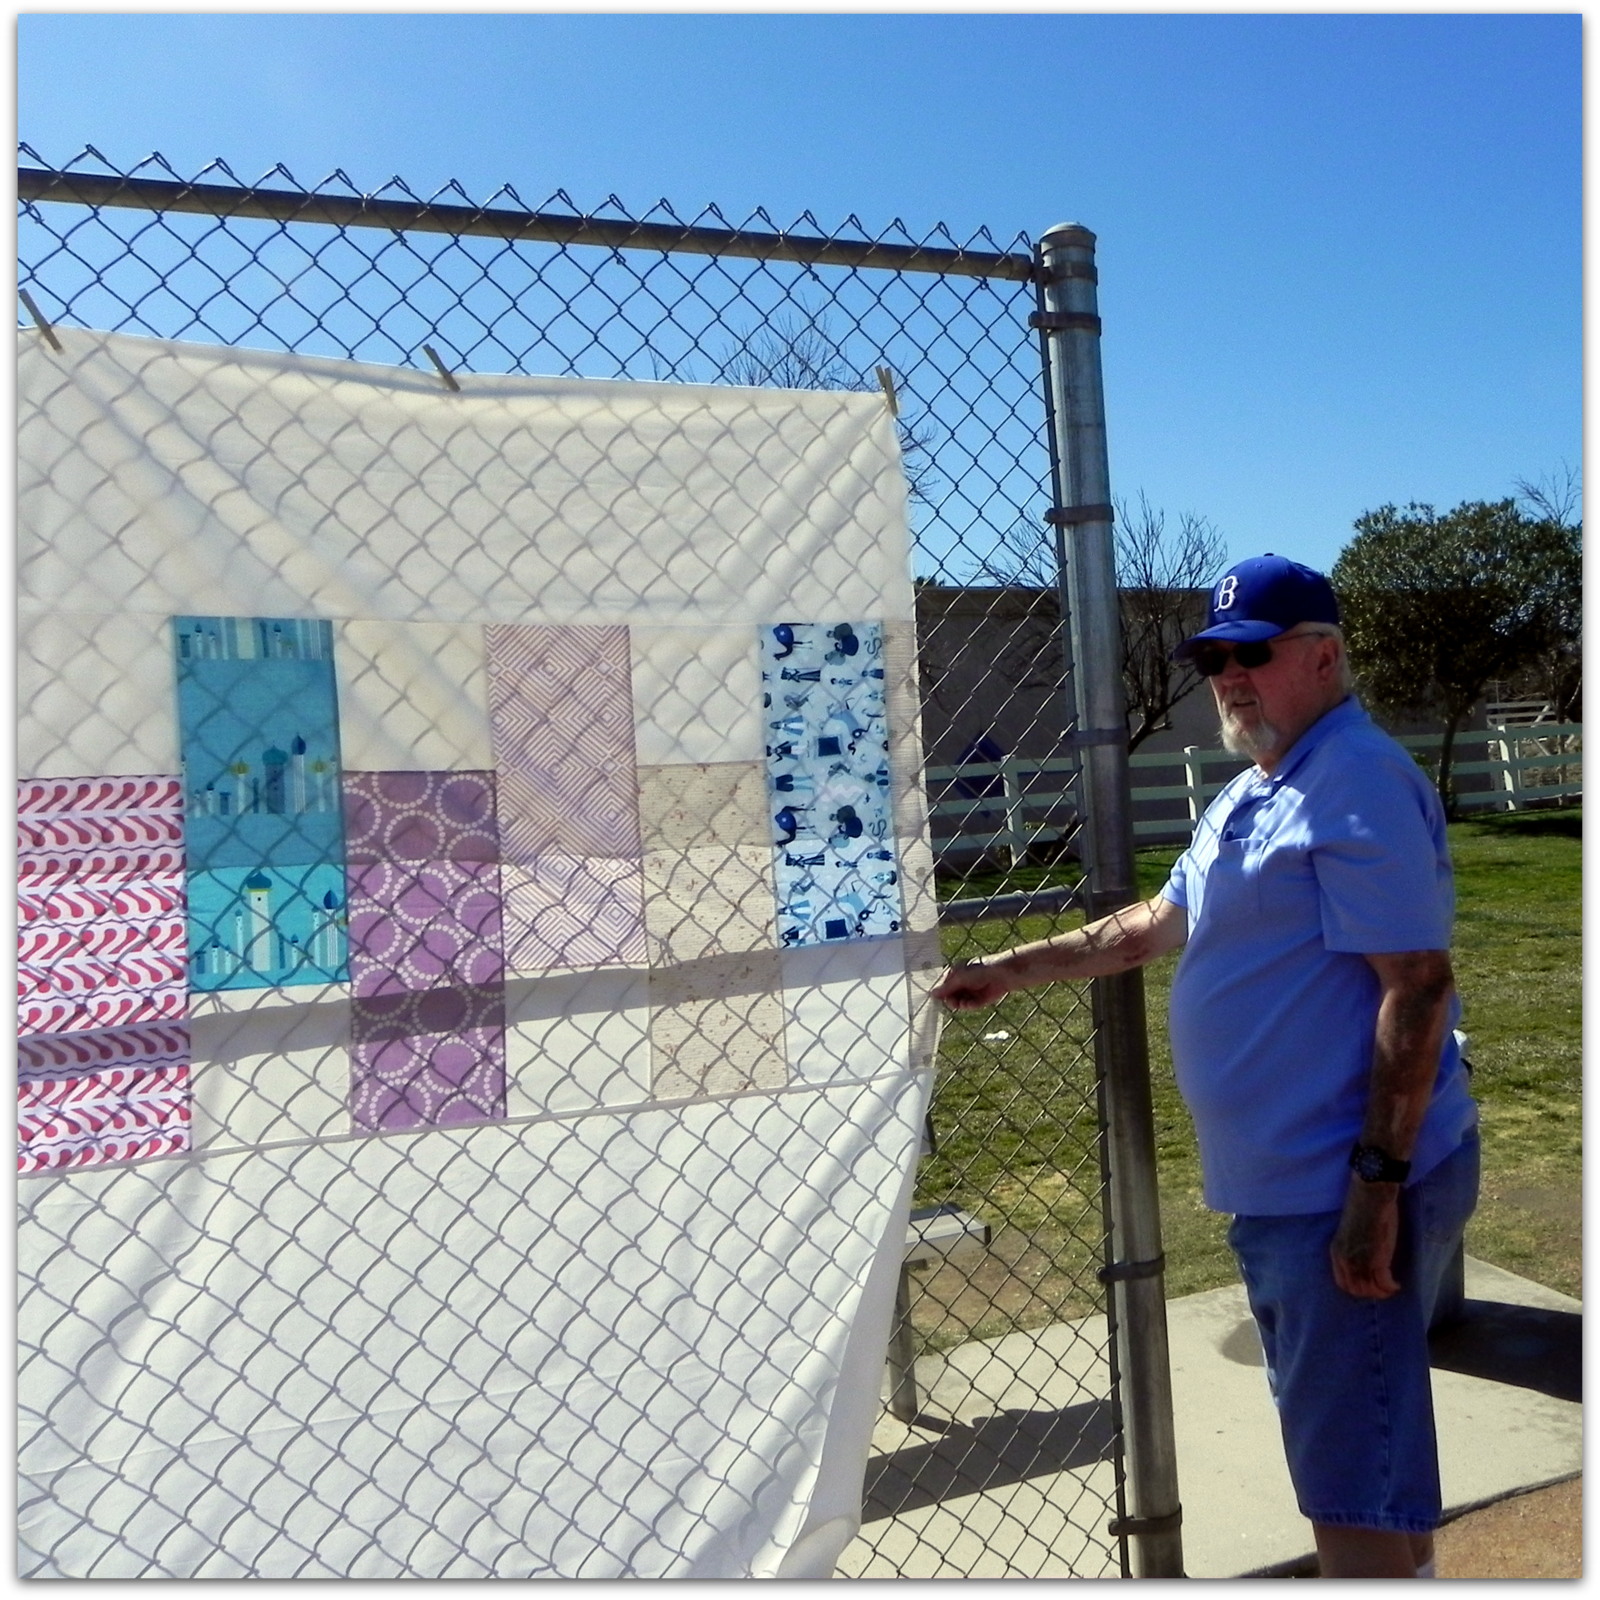
The quilt top and back are finished.  While I was waiting for the fabric to finish the border around the top, I made the back!  Talk about time management!  I ordered the fabric on Friday, it shipped on Saturday and I received it on Monday.  Added the last two borders on Tuesday, and took the photos today.
We almost didn't get these photos today because it's really windy outside.  The photos were taken between wind burst.


I usually take my photos on the other side of the backstop, but had to move to the baseball field side, so the wind would push against the quilt.  I like the chain-link fence shadows on the quilt; it's almost like quilting.


There goes the wind.  My quilt model was very helpful, holding the corner down.  I started this quilt with a stack of 51 fat eights, I used 36 for the quilt top: I took 12 for the quilt back and did this up and down pattern.


Now, I just have to wait for my long arm quilter to do her part.
May your bobbins always be full,

February 21, 2013

Long time, no sew

I'm still not sewing, today.  I was gonna, but this happened.

  • I'm on about Plan D for my Autumn Leaf Quilt layout.
  • During the 11 days I haven't sewn, I've changed my mind about four times about how I wanted to have the finished quilt look.  During those 11 days I was busy with other things and had time to let my mind wander about, and make and cast off plans.
  • Plan D went like this:
First I needed room.  I backed both cars out of the garage and swept the floor.


Then I laid a queen-size top sheet.  I really wish I had a great big design wall!


I laid out my leaf blocks and seed-pod blocks.


Added setting triangles, and had Bob come and look at the lay-out.  Bob has a great artist's eye and 90% of the time I welcome his input.  Today was one of those days, I won't tell about the other 10%.

Then I got down on my hands and knees and pinned the rows together.  Now, I'm gonna do something else, like read or take a nap.  Perhaps at 68 2/3 years old I'm entitled to the afternoon off; after spending an hour on the garage floor with my butt in the air pinning blocks together.   I teach Tai Chi this afternoon, and a rest will be good beforehand.

I'll sew tomorrow.

May your bobbins always be full,

February 6, 2013

12 Leaf Blocks, so far


I'm using my slightly damp "design grass", since I don't have a design wall.  I'm happy with these, for the most part.
May your bobbins always be full,

February 4, 2013

Four more, and a Stem Tutorial


Four more Autumn Leaf blocks finished.  I want to thank everyone for the nice comments on yesterday's post.  A couple of people wanted to know how I'd done my stems.  The answer is applique!  I've never done appliqué, before, but I'm willing to share my technique.


The first thing I did was get some of Heat n Bond; there're two kinds, get this one, so you'll be able to stitch.


I also noodled around the internet and found an English language PDF for this quilt, Maple Leaf Quilt from France.  It's from Cindy Carter, and I highly recommend it, with two exceptions.  I had to "improve" on the template for the point at the center of the leaf, see below.


I'm making two blocks at a time, that's working for me, color-wise; so I cut out two of the stem pieces, and found a scrap large enough to accommodate two stems.


I then cut a piece of the Heat n Bond, the same size.


Remove the templates, and position the Heat n Bond, on the wrong side of your fabric, with the nubby side facing the wrong side of the fabric.  Cover with a pressing cloth, and follow the directions on the package to bond the two pieces together.


Position the stem pattern pieces on the fabric - cut out the stems.  Position on the 5.5" x 5.5" background squares.  This is the other change I made to the tutorial, I appliquéd the stem before joining the quilt block.  (The tutorial calls for appliquéing, after assembly.  I wanted the top portion of the stem to be part of the seam.  I hope that makes sense.)


Set your machine for a very small, narrow zig zag, not as small as a satin stitch, but pretty small.


Be sure to change your pressure-foot, so you can see what's going on, as you stitch.


Just keep going, and going until you have all four sides of the stem appliqued to the background fabric.


This is all the block pieces positioned before assembly.  You can see that after they're sewn together, there's a lot of truing-up involved.  After adding the outer pieces the blocks are trued-up, again.

I sure hope this all made sense.


May your bobbins always be full,

February 3, 2013

Two down, many more to go


I've finished the first two block for the Autumn Leaf quilt.  These blocks are large, 15.5 inches, so 15 inches finished.  I've cut enough fabric for 20 leaf blocks; I could be working on this one for awhile.
May your bobbins always be full,

January 30, 2013

Wordless WIP Wednesday


May your bobbins always be full,

January 26, 2013

Autumn Quilt

I've decided to make an Autumn themed quilt.  I love the ones I've seen with fall leaves; I just don't like some of the leaf patterns because they seemed rigid.  I found one that I really liked on two different blogs, one in  Russian and one in Spanish.  I liked that the leaf looked "natural", to me, like a real maple leaf.


The Spanish language blogger, Paula of A Toda Tela, included a sketch, with dimensions, so I'm utilizing that.


A couple of years ago I won some FQs from Lizzie House, 51 Fat Eights, in fact, and I've decided to use them for this quilt.


I won't use all of this fabric, but I believe I'll get a nice Autumn Quilt from these fabrics.

What are you working on?
May your bobbins always be full,

UP