Showing posts with label layer cake. Show all posts

June 2, 2021

The Lattice Quilt is finished!


The Lattice Quilt is complete and I'm a dork. This one is going to my daughter Carrie in N.C., and I was getting it ready to mail; the box was taped shut, then I realized I hadn't taken any photos!  Must take photos! 


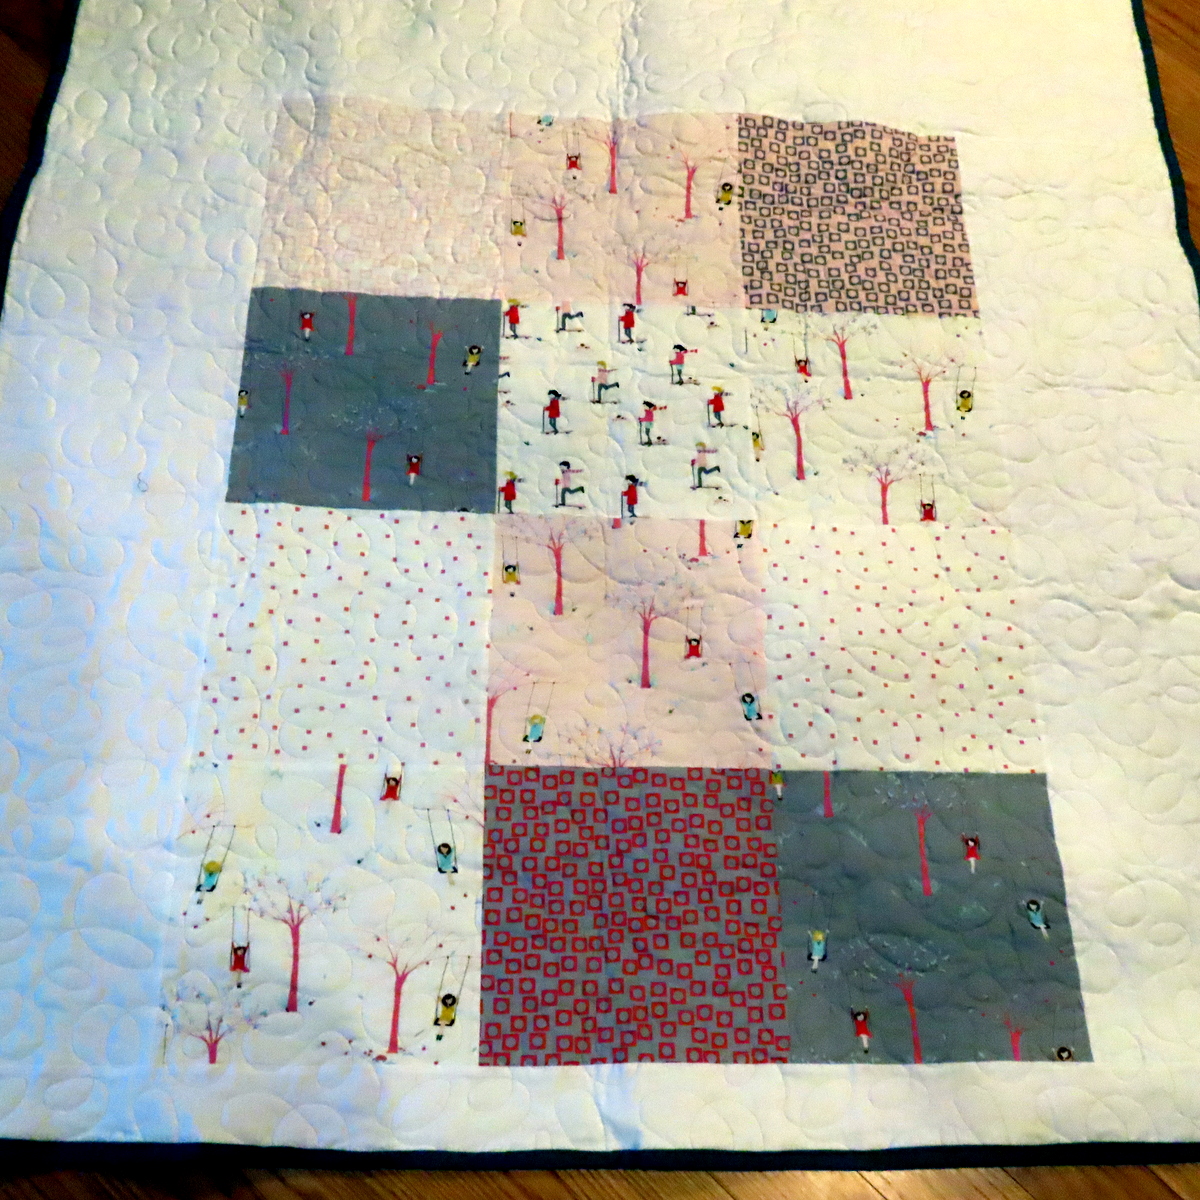
For the quilt back I used the left-overs from the layer-cake.  The quilt measures 48" x 57".


May your bobbins always be full,

May 29, 2021

What time is it?


It's binding time!  These six quilts need binding!  Two are queen-size and the others are lap quilts.  I better get busy because my LAQ has six more; three will be ready at the end of June and three will be ready at the end of July.  

This pandemic has really kept me busy making quilts.  I'd rather be creating than binding, but, "Oh, Well"!


May your bobbins always be full,

January 8, 2021

Lattice Quilt Top


The first 2021 quilt top is finished. Such a simple pattern called "Lattice", it's a freebie from the Fat Quarter Shop. I used a Layer Cake of Sherbet Pips by Aneela Hoey that I've had for ages. Now to piece the quilt back. I love how it turned out.

 The top measures 48" x 57.5".

May your bobbins always be full,

December 31, 2020

Pool Party Quilt


Well, my LAQ surprised me, and the rest of her customers.  She pushed herself to start 2021 with an empty "to-do" list.  That meant she needed to quilt a lot of quilts, and some were like mine, not due until mid-January.  So I got this Pool Party quilt back before Christmas, and I got the binding on this week.  I really love how it turned out.


The Pool Party Quilt was a result of my Pre-Cut Challenge.  I used a layer cake and various black and white low-volume fabrics, all from stash.  It measures 65" x 81", and will stay here at Casa Prytz.


The last photo shows that two hangers just didn't do the job!  Fun times.  This is quilt #21 for 2020; see something good did come out of this horrible year.


May your bobbins always be full,

March 7, 2016

Urban Life Quilt for a Baby Girl


Quilt back

Photos are not the best because they were taken inside on a stormy day.  My haircutter, Emily, who no longer works, still comes to my home and cuts my hair, whenever I need a haircut.  She and her husband are adding to their family; they have two great boys and the new baby is a girl!  I used some of my precious Central Park fabric for this baby quilt.  I love the pantograph called Jungle Animals.

The quilt measures 46 x 48 inches.
May your bobbins always be full,

January 31, 2016

Quilt Back for the Urban Life Baby Quilt


After making the Urban Life quilt top from Central Park fabric, I had 20 - 1" x 10" fabric strips left over.  I spent yesterday afternoon making these four blocks.  I'm calling them "Pick Up Sticks" quilt blocks.


Today I decided to separate them by a 3.5" strip and put them half way on the quilt back.
The quilt top is below.


I'm taking a wee sewing break.  Believe it or not, I need to clean the garage and get rid of some things.  I think February is the perfect month for that task.  I still have plenty of Bob's things to make decisions about.  Boxes and boxes of "stuff"!  I need to clean my closets, too!  Imagine that.
May your bobbins always be full,

January 30, 2016

Urban Life Quilt Top for a Baby Girl


We're having a gusty, blustery day, here in Murrieta.


There's just too much wind to get a decent photo, so I took it inside!


The quilt top for Emily's baby girl is finished.  It measures 48" x 48", and I can't decide which way I like it best.  On a square quilt, I guess it doesn't matter.  Now I need to decide on the quilt back, I have an idea, we'll see if it works!
May your bobbins always be full,

January 29, 2016

Frustrating...Warning ~ I'm not happy!


I've wanted a design wall for ages.  I thought it'd make my quilting life easier and it should.  My new portable design wall and I have gotten off to a rough start.

On the recommendation of two quilty friends, one on FB and one on IG, I purchased "Cheryl Ann's Portable, Free Standing Design Wall".  I got the large size, 72" x 72".  In theory, this should be just what I need.  I have no wall space to dedicate to a design wall, so one that can be put up and taken down, as needed, sounded divine.


My first problem when I attempted assembly yesterday was the Brace Clips did not easily snap on; they were a bear to get on, and one actually broke, rendering the use of that pole mute.


The top photo shows the printed rows of this quilt top before adding the half blocks to the ends of half the rows.  The photo above shows the rows rearranged after the rows were complete, and the design wall had tipped over, dumping the blocks on the floor.  After this photo was taken, it tipped over again!


 I gave up yesterday afternoon, I had to go teach Tai Chi.  Before I left, I moved the design wall to the guest room, and wedged it in front of the mirrored closet.  This morning I worked with the strips, placing them again, but this really isn't satisfactory, either.  The design wall is meant to be used at an angle,  The angle helps keep the blocks on the flannel better.  I'm not giving up, but I just had to vent!
May your bobbins always be full,

January 26, 2016

Central Park baby quilt


Just because I haven't been posting, doesn't mean I haven't been busy.  My wonderful haircutter, Emily, spoils me by coming to my home to cut my hair.  She has two handsome boys, and this Spring she will add a little girl to her family.  This quilt is for the new baby.


I've been saving a layer cake of Central Park by Kate Spain, for a long time.  This project will use half of the layer cake; I'll save the rest for future inspiration.


I normally don't use patterns, but I'm using the Quilt 2 pattern, from Urban Life by Crazy Old Ladies.  I'm eliminating the top and bottom borders to give it a modern look.  It's a very simple pattern but very time-consuming.

May your bobbins always be full,

UP